In this article, we are going to see how we can install Graphical Environment on termux. Then, you may ask yourself what is the graphical environment.
A graphics environment file contains commands that specify exactly how a graph is produced.
Termux provides support for programs that use X Window System. However, there is no hardware acceleration for rendering, and the user will have to install a third-party application to view the graphical output. Before we continue let us see some definitions of keywords that we are going to use in this article.
What is X Window System?
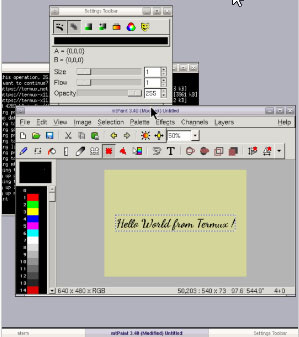
The X Window System is a network-transparent window system that runs on a wide range of computing and graphics machines. X Window System servers run on computers with bitmap displays. The X server distributes user input to and accepts output requests from several client programs through a variety of different inter-process communication channels. Also, the most common case is for the client on networking and remote applications.
What is a VNC viewer?
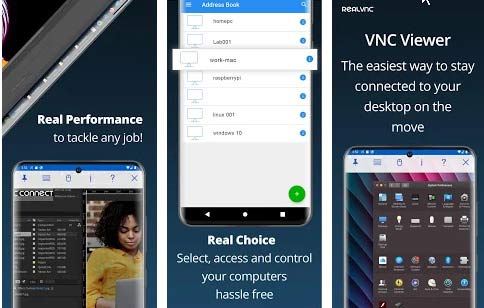
VNC® Viewer turns your phone into a remote desktop, giving you instant access to your Mac, Windows, and Linux computers. You can view your computer’s desktop remotely, and control its mouse and keyboard as though you were sitting down in front of it.
Who can run Graphical Environment on Termux?
Then, as you know already keywords, let us see who can run Graphical Environment on termux. Termux is a free app that everyone who has an android device can get from the play store.
in the previous article, we discussed Best android apps Termux learner in 2021 from play store. You can see in that article the best apps that will teach you termux command and discover the best apps for hacking.
First, if you don’t have termux download it from the play store. last it’s applicable only to Termux installations running on Android 7.0 or higher
Enabling the X11 Repository – Graphical Environment on Termux
To use X11-enabled programs, please, make sure that at least one of the following programs is installed. In this article we are going to use VNC Viewer:
- VNC Viewer – the best choice for interacting with the graphical environment. Requires a running VNC server.
- XServer XSDL – this one may be unstable but it provides a standalone Xorg server so you don’t have to set up VNC.
Also, know that X11 packages are available in a separate APT repository. You can enable it by running the following command:
pkg install x11-repothis command will automatically add appropriate sources. list file and PGP key.
You may also like to know the differences between termux and linux
Setting up VNC Viewer – Graphical Environment on Termux
Server
As we said we are going to use VNC Viewer in this post then, let us configure it for the graphical output.
- Install tigervnc in termux.
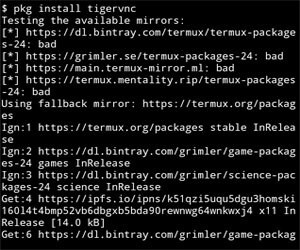
pkg install tigervnc- After, installation you can now execute tigervnc with this command :
vncserver -localhostAt the first time, you will be prompted for setting up passwords. Then, set your password must be 6 or 8 characters and passwords are not visible when you are typing them.
Then, after you finish setting up your password, if everything is okay you will see this:
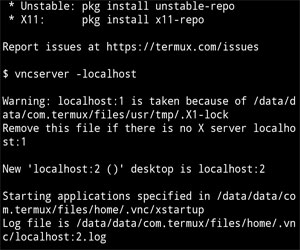
It means that the X (vnc) server is available on display ‘localhost:2’. Finally, to make programs do graphical output to the display ‘localhost:1’, set environment variable like shown here (yes, without specifying ‘localhost’):

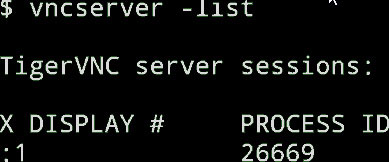
Check if the VncServer is running or not. if it’s not running go back to the previous step.
Client
Now it’s time to install VNC Viewer from the play store. Then, if you have finished installing VNC Viewer, open it and start the configuration.
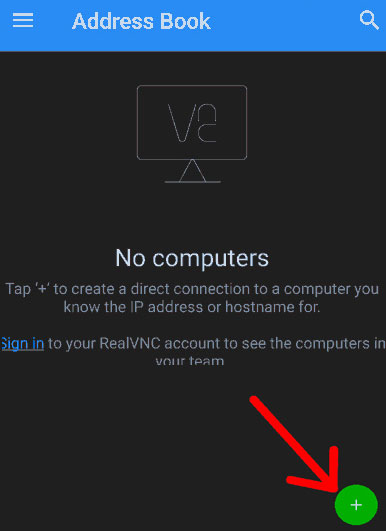
Now in the Address field Type localhost:1, Remember next time you run the server you need to change the localhost to 2 or 3. or You can type vncserver -list and you can see your localhost number there.
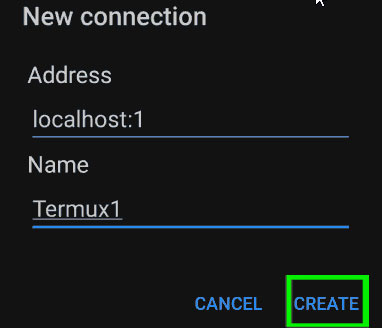
Next, press creates and it will create the connexion with your termux. Then, In the next step click on the green button and last click on the name of your connection.

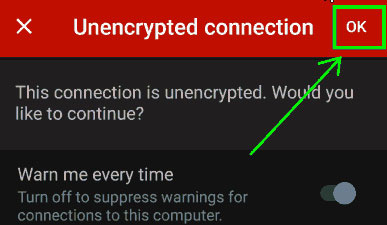
Then, press ok to allow the connection.
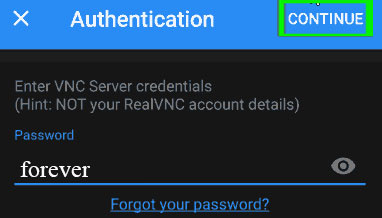
Now the time of putting your authentication is there. put the password you set in the previous step.
You may also like Best professional hacking tools on termux for ethical hacker
Window Managers
Then, as we have configured the connection let us see how to manage the window. Also, the Simplest way to get a working graphical environment is to install Fluxbox:
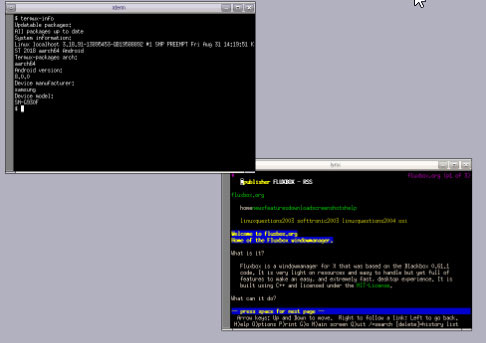
$ pkg install fluxboxThen, if you want you can set fluxbox to started automatically on VNC server startup. Also if you want to do it you have to edit the file ~/.vnc/xstartup.
Desktop environment (XFCE)
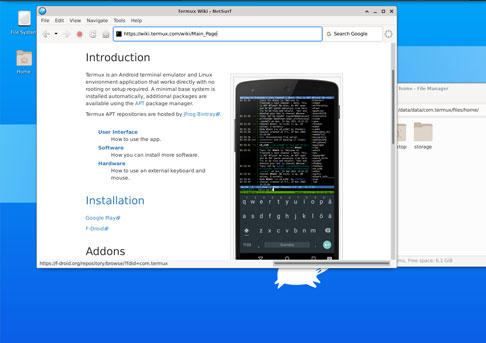
Also, It is possible to set up a full-blown desktop environment in Termux. Also, know that only XFCE is supported, porting of other environments is not being planned. Then, let us see how to install XFCE.
pkg install xfce4
VNC server startup configuration (~/.vnc/xstartup)
#!/data/data/com.termux/files/usr/bin/sh
xfce4-session &
Conclusion
Hope now you are having Graphical Environment on your termux, if there is an issue during installation let us know to help you solve that issue. thanks


Pingback: Best android apps Termux learner in 2021 from play store
Good
Pingback: Termux app| what is the difference from linux - tgeniusclub
Pingback: How to install kali Linux on termux - Tgeniusclub
Pingback: hack android with infect termux hacking tool - Tgeniusclub
Pingback: Track IP address in termux with the best tool - Tgeniusclub
Pingback: Get Instagram followers using BadRobo termux hacking tool
Pingback: How to install rootless Nethunter In Termux - Tgeniusclub